

General information, not professional or legal advice. Codes, permit rules, and prices vary by location, so confirm them with your local building department and with written quotes.
The short answer
A finishing basement project turns an unfinished concrete space into rooms you can live in, and the budget usually lands between $15,000 and $75,000, with $7 to $23 per square foot as the common range. Most of that goes to framing, electrical, flooring, ceiling,s and any plumbing.
The part that decides success is not the decor. It is the order of work, the moisture checks before anything is cover,ed and the permit rules for egress, ceiling hei,ght and alarms.
This guide covers the build phase: planning the layout, the cost by component, the code basics, each step in sequ,ence and where DIY makes sense. For water, radon and the “fix it first” argument, the companion basement guide goes deeper.
Decide what the space is for
Every later decision depends on the answer, so settle it first. A playroom, a guest suite, a home o,ffice and a rental unit all have different rules and costs.
A bedroom triggers egress requirements. A bathroom triggers plumbing and perhaps a pump. A rental or separate unit can trigger extra fire, venti,lation and zoning rules.
Write the list of rooms before you pick finishes. Mark which ones need heat, a window, ,a drain or a door to the outside.
Then draw the existing space on graph paper: stairs, mechanical room, panel, water heater, floor drains, columns,, windows and the lowest beam. Those fixed items shape the layout more than your wishes do.
Keep the layout simple where you cfinishedfinishing basement plan, every extra wall, plumbing run, and angled corner adds cost.
One saving tip from a cost guide is to keep the existing layout and avoid major plumbing or electrical rework. It is sound advice for a first project.
What it actually costs
Cost sources differ, so look at the ranges, not a single number. According to a HomeAdvisor guide, the average cost to finish a basement is about $32,000, with a typical range of $15,000 to $75,000 and a per-square-foot range of $7 to $23.
This Old House gives the same $7 to $23 per square foot for a 1,000-square-foot space, which works out to $7,000 to $23,000 at that size. The two sources frame the totals differently, which is why homeowners see such wide numbers online.
| Size | Estimated cost (HomeAdvisor) |
|---|---|
| 500 sq ft | $3,500 to $11,500 |
| 1,000 sq ft | $7,000 to $23,000 |
| 1,500 sq ft | $10,500 to $34,500 |
| 2,000 sq ft | $14,000 to $46,000 |
The per-square-foot method gives lower totals than the quoted averages, and the gap comes from scope. A bare finish with paint and flooring costs far less than one with a bathroom, new ductwork, and a wet bar.
Labour is often about 20 percent of the budget in the HomeAdvisor guide, though it runs higher when several trades are involved. Permits add roughly $1,200 to $2,000 in that source, but local fees differ widely.
Plan a cushion. This Old House suggests setting aside 10 to 20 percent for surprises, and basements produce plenty of them.
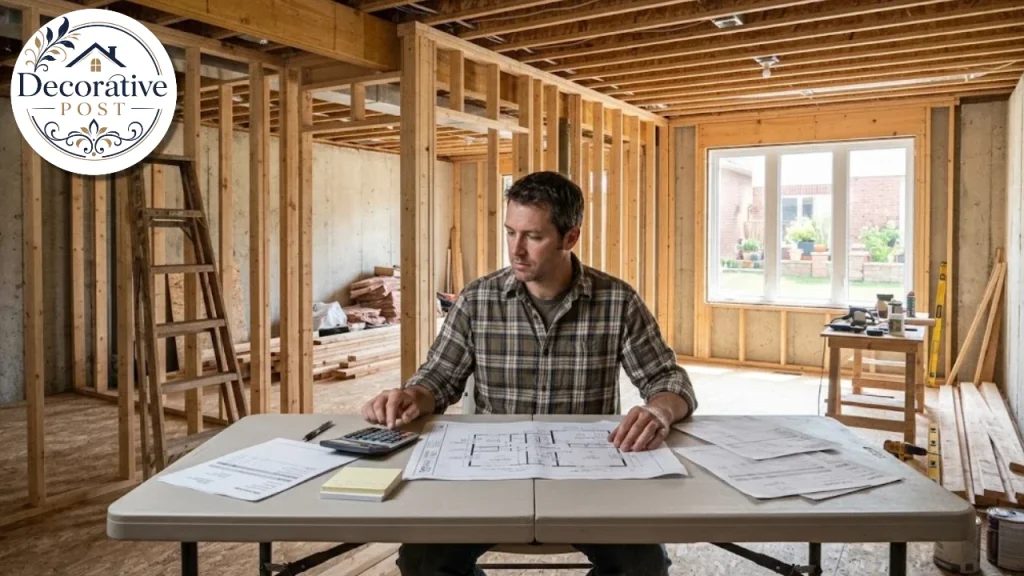
Cost by component
Breaking the project into parts shows where the money goes and where you can trim.
| Component | Cost range (source) |
|---|---|
| Framing | $7 to $16 per sq ft (HomeAdvisor); $700 to $1,400 for 1,000 sq ft (This Old House) |
| Insulation | $0.30 to $6.75 per sq ft (HomeAdvisor) |
| Drywall | $1.50 to $3 per sq ft installed (HomeAdvisor) |
| Ceiling | $9 to $13 per sq ft built and finished (HomeAdvisor) |
| Flooring | $1,500 to $4,500 typical (HomeAdvisor); $2,000 to $12,000 (This Old House) |
| Egress window | $200 to $950 per window (HomeAdvisor); $2,500 to $5,300 (This Old House) |
| Electrical | $1,300 to $12,000 (This Old House) |
| Plumbing | $2,500 to $15,000 (This Old House) |
| HVAC | $2,000 to $11,000 (This Old House) |
| Waterproofing | $1,900 to $6,500 (This Old House) |
Two things stand out. The sources disagree sharply on egress windows, partly because one prices the window and the other prices cutting a new opening and installing a well.
And the big swings sit in plumbing, electrica,l and HVAC. Those are the line items where scope, not square footage, drives the number.
Treat every figure here as an estimate. Ask for three itemised bids and compare scope line by line.
Fix the moisture before you frame
Nothing in a finishing basement budget is wasted faster than materials installed over a damp slab. Water and vapor problems should be solved before any wall goes up.
Bulk water comes first: leaks, poor drainage, crac,ks and window wells that fill. Fixes range from grading and gutters to interior dra,and a sump pump, and a cost guide puts the waterproofing line at a few thousand dollars.
Vapor is subtler. Moisture can wick up through concrete and show itself as cupped flooring, delaminated laminate, or adhesives that let go.
A simple test helps. The ASTM D4263 plastic sheet method tapes an18-by-18-inchh sheet of polyethylene to the slab for at least 16 hours, and condensation underneath signals excess moisture. A flooring guide recommends one test per 500 square feet.
For numbers rather than a yes or no, use a calcium chloride kit, a handheld meter, or an in-slab humidity probe.
Test for radon at the same time. If the result is at or above the 4.0 pCi/L action level, plan the mitigation pipe before framing so it can be hidden in a wall chase. The radon mitigation guide explains the system and the routing.
Check for humidity long term too. Aim for a relative humidity of roughly 30 to 50 percent, and plan a dehumidifier if the space runs damp.
Insulation that will not trap water
Basement walls are cold and often damp, so the wrong insulation can create the problem you are trying to prevent.
The U.S. Department of Energy’s Building America profile notes that basements can account for 10 to 30 percent of a home’s heat loss. It also warns that basements can develop mould, ro,t and odour if they are designed badly.
Its guidance on interior walls is specific. Insulation should be airtight and act as a semi-permeable vapor retarder so wall moisture can dry inward.
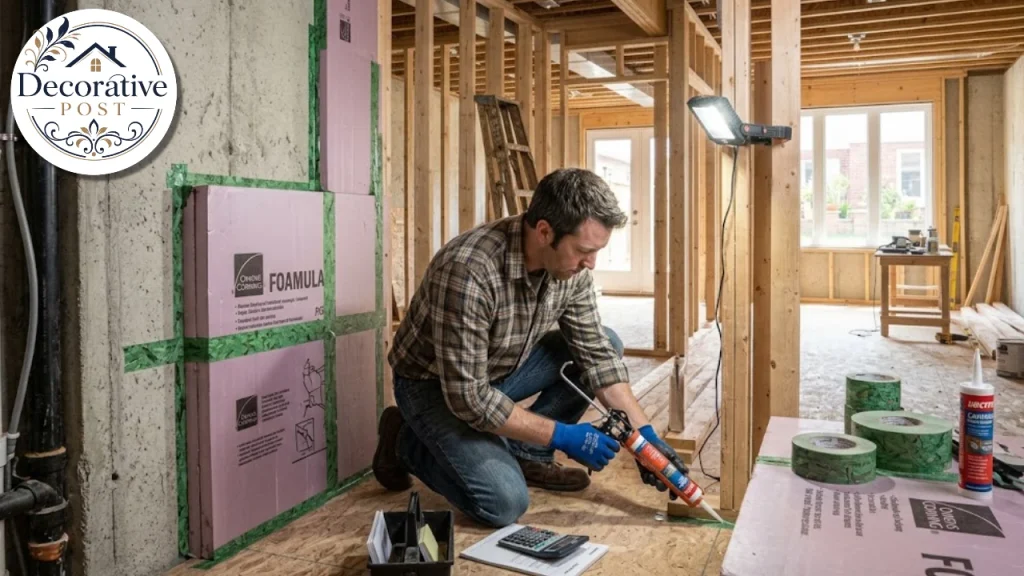
Closed-cell spray foam gives the best moisture control, and rigid foam board works when it fully contacts the wall and the seams are sealed. Spray foam must be covered by an ignition barrier, such as half-inch gypsum board.
The same source says to avoid fibreglass batts or cellulose directly against foundation walls, because they absorb moisture and stay damp. It also warns against polyethylene sheeting, vinyl or foil wallpap,er and certain paints on interior basement walls, which can trap moisture.
Local code sets the minimum R-value. One city handout lists three options: R-15 continuous insulation, R-19 cavity insulation, or R-13 cavity plus R-5 continuous. It also says not to install a vapor barrier on below-grade 2×6 framed walls, though your local rules may differ.
Air seal rim joists and gaps too. They are among the largest leaks and are cheap to fix at this stage.
Code basics you cannot skip
Rules differ by city, so treat the following as a checklist of questions, not a legal reference. The figures come from the model code and one city’s permit handout.
Ceiling height is the first test. One city handout gives a minimum of 7 feet, and a flooring guide notes the model code minimum for living space is 7 feet, with 6 feet 8 inches allowed under newer editions. Beams and ducts may be allowed to project below that line.
Egress is the second. Every sleeping room needs an emergency escape and rescue opening, and a basement that contains a sleeping room needs one for that room.
The model code figures are specific: a net clear opening of at least 5.7 square feet (5 square feet at grade level), at least 24 inches of clear height, at least 20 inches of clear width and a sill no higher than 44 inches above the floor.
Below-grade openings need a window well. The code calls for a well of at least 9 square feet with a 36 inch projection, plus a fixed ladder or steps if the well is deeper than 44 inches.
Note that the 24 inch height and 20 inch width are minimums, and a window must meet the area requirement as well. A window that meets only one of them fails.
Alarms are the third. A city handout requires smoke alarms in every bedroom, outside each bedroom and on each level, and carbon monoxide alarms near sleeping areas. Where finishes are removed, the alarms usually must be hardwired.
The same handout requires AFCI protection on receptacles in bedrooms, family rooms, and rec rooms. It also requires fireblocking at the top of framed walls set out from the foundation.
Ask whether you need a permit before you buy a stud. One cost guide says permits are needed when you extend electrical, plumbin,g or HVAC, while cosmetic work is often exempt.
The build order that works
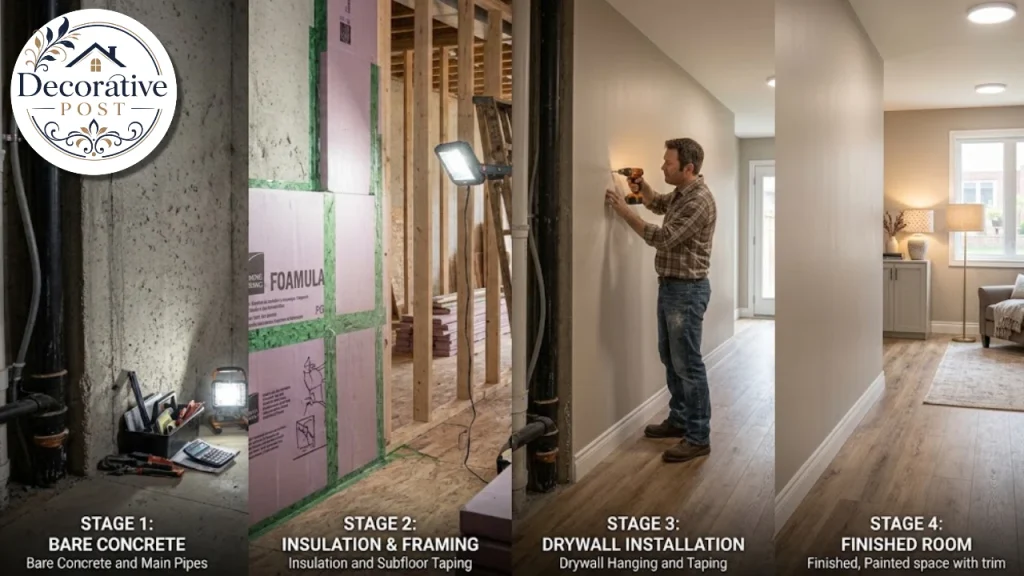
Doing a finishing basement job in the wrong order causes most rework. The sequence below follows common contractor practice and the HomeAdvisor timeline.
First, fix water, test for rad,on and clear the space. Remove stored items and any old finishes.
Second, plan rough-in locations. Mark outlets, switches, lights, plumb,ing and duct runs on the floor plan.
Third, frame the walls and any bulkheads. HomeAdvisor lists about three to five days for framing in a typical basement.
Fourth, run electrical and plumbing rough-ins. This takes about a week after fra,ming in the same timeline, and an inspector usually looks before walls close.
Fifth, insulate and air seal, then pass the insulation inspection where required.
Sixth, hang and finish drywall, which takes roughly five days. Tape,, mud and sand take longer than hanging.
Seventh, install flooring and trim, then paint and complete the punch list. HomeAdvisor gives two to three days for flooring and about a week for paint and trim.
A full project runs about four to eight weeks in that source. Real timing depends on inspections, trade availability, and how many surprises appear.

Framing the walls
Walls in a basement are framed differently from those upstairs because of the concrete beside them.
A common method is to build the wall a small distance in front of the foundation, leaving a gap that gets insulation. This keeps wood off the cold, damp concrete and leaves room for wiring.
Use pressure-treated lumber for the bottom plate, the horizontal piece that sits on the slab. Place a capillary break under it if your inspector or manufacturer recommends one.
Leave a gap between the bottom of the drywall and the floor. The DOE profile suggests at least half an inch so the board never wicks moisture.
Frame around obstacles with care. Columns, ducts, the electrical pane,l and shutoff valves all need clearance or access.
Keep a clear workspace in front of the panel, and do not wall in cleanouts, valv,es or junction boxes. An inspector will flag it.
The slab and subfloor
The floor is where basement projects most often go wrong, because the concrete below is cold and can pass moisture.
A flooring guide describes four subfloor approaches over concrete. One layer of three-quarter-inch tongue-and-groove plywood fastened to the slab. Two perpendicular plywood layers floated over a retarder. Plywood over pressure-treated sleepers. And manufactured panels such as dimple board or foam and OSB.
Floating two layers avoids driving fasteners through the vapor retarder. The sleeper method helps when the slab is uneven, and it leaves room for foam between the sleepers.
Whichever you choose, put a vapor retarder of at least 6-mil polyethylene beneath untreated wood, or use a liquid sealer for glue-down products.
Flatness matters. The guide quotes manufacturers’ common tolerance of no more than 3/16 inch of variation in 10 feet, or 1/8 inch in 6 feet. Grind high spots and fill low ones.
Remember that a subfloor raises the floor. It shortens the bottom stair riser, and the model code limits riser variation in a flight to 3/8 inch.
A raised floor also reduces ceiling height, so confirm your numbers before you commit.
Choosing flooring
The best floor for a basement is the one that tolerates moisture and temperature swings.
The guide rates several options. Tile resists moisture and is durable, though it adds height and works best with an uncoupling membrane. Glue-down vinyl planks and tiles are repairable.
Luxury vinyl plank water-resistantant, not waterproof, and the guide suggests at least 5 mm thickness. Rigid core planks are more stable and hide subfloor flaws better, but cost more.
Traditional laminate can swell with moisture. Solid hardwood is the most sensitive to moisture and temperature, and engineered wood is a steadier alternative.
Carpet over an uninsulated slab is a poor choice, and the DOE profile lists carpet or vinyl over an uninsulated slab as something to avoid.
For a closer look at vinyl, see the guide to LVP flooring for basements.
Ceilings: drywall, drop or hybrid
The ceiling decides how finished the room feels, and how easy future repairs are.
Drywall looks cleanest. The tradeoff is access, since soffits around ducts and pipes add framing and corners, and reaching what is behind a finished ceiling later is harder.
A drop ceiling builds access in, because panels lift out. It can enclose ducts, wiring, and plumbing without soffit work, though the tiles can look commercial and take height.
A Fine Homebuilding article suggests a hybrid. Use drywall in visible living areas and a drop ceiling where service access is likely, such as a laundry or utility zone.
Whatever you choose, keep access to shutoff valves, the electrical pane,l and drain cleanouts. The same article notes that inspectors expect it.
Colour affects the feel of a low ceiling. The guide to ceiling paint colours shows which shades make a room feel taller.
Heating, cooling and air
A basement stays cooler than the rest of the house, and often feels damp, so comfort takes planning.
You can extend existing ducts, add a ductless mini split or use electric heat for a small room. The right choice depends on the load, and a professional calculation beats a guess. The BTU guide explains how sizing works and why an oversized unit leaves the air clammy.
HVAC work costs a few thousand dollars at the low end in the This Old House ranges, and more for new ducts. Ask a qualified technician, and the air tech guide explains what to ask and which credentials to check.
Plan for fresh air and dehumidification. A basement without ventilation holds odours and moisture, and a dehumidifier running to a drain often pays for itself.
A bathroom needs a proper exhaust fan vented outside. Poor ventilation there leads to mould, and the shower mould guide covers cleaning and prevention.
Plumbing and bathrooms
A basement bathroom is the most expensive room you can add, and the cost depends on where the drain is.
If the main drain sits low enough, fixtures can flow by gravity. If not, the options include a sewage ejector pit or an up-flush toilet system, and both add cost and noise.
This Old House puts plumbing anywhere from $2,500 to $15,000, which reflects how much depends on the drain location and the layout.
Rough in the plumbing before the slab is covered or patched, and leave access for any pump. Check with your jurisdiction, because some require a permit and an inspection of the vent and drain connections.
If you are unsure you want a bathroom, rough in the drain lines now and finish the room later. It is far cheaper than cutting concrete afterwards.
Lighting and electrical
Basements need more light than upstairs rooms because there is little daylight. Plan layers: ceiling lights for general light, task lights where you wo,rk and accent lights for the mood.
Recessed fixtures need ceiling depth, so check your joist space before you commit. Surface-mounted or shallow fixtures help where the ceiling is low.
HomeAdvisor lists outlets at $100 to $450 each, switches at $60 to $,300 and fixtures at $150 to $900. That spread shows how quickly electrical costs climb with the number of points.
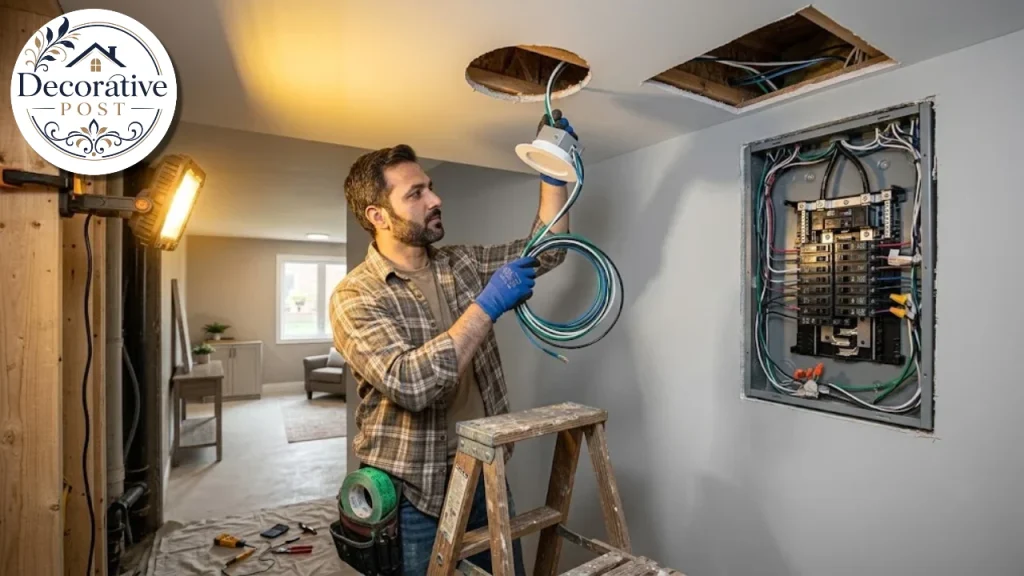
A licensed electrician should handle the panel, new circ,uits and AFCI work. Ask whether the panel has room for new breakers before you design the layout.
Add more outlets than you think you need. Putting them in later means opening finished walls.
What you can do yourself
Doing part of the work saves money, but only the right parts.
Painting, basic flooring, demolition, cle,aring and some trim carpentry are common DIY jobs. This Old House names painting, basic fl,ooring and simple finishes as suitable.
Electrical, p,lumbing and HVAC work usually need licensed professionals and inspections, and they must meet code. The same source says professionals can also handle moisture and structural issues and coordinate the trades.
A middle path works well. Hire out the rough-ins and let an inspector see them, then do finishing yourself.
Be honest about time. A professional crew may take several weeks, and a part-time DIY project can run for many months.
Built-ins are a good place to add value yourself. The DIY built-ins guide covers shelving and storage that turn awkward corners into useful space.
Making the rooms worth using
Even a well-built finishing basement project can still feel like a basement. The difference is in the details.
Use warm light and avoid a single harsh fixture. Choose colours with warmth, and add texture through rugs, curtains and wood.
Use the zones. A media area, a play area and a storage area each need different light and furniture.
For ideas on seating and layout, the cozy living room guide covers furniture placement that works in lower-light rooms. If you want an entertaining space, the home bar ideas guide shows layouts that fit.
Soundproofing is worth thinking about early. Insulation in interior walls and resilient channel in the ceiling reduce noise between floors, and they are far easier to add before drywall.
Common mistakes in a finishing basement project
Skipping the moisture test is the costliest. The floor and the walls hide the problem until it is too late.
Using fibreglass batts directly against concrete is the next. They absorb water and stay damp.
Building before pulling permits risks stop-work orders and trouble at resale. Ask first.
Walling in valves, c,leanouts and panels creates access problems and failed inspections.
Forgetting the egress window until late forces expensive cutting of a finished wall.
Picking flooring before the slab is tested leads to cupping,, swelling and failed adhesives.
Underestimating the budget is the final one. Surprises turn up, and the 10 to 20 percent reserve is there for them.
What to take from it
A good finishing basement project is mostly planning. Settle the use, test for moisture, check the code, and build in the right order.
Spend where it matters: moisture control, egress, ,insulation and the rough-ins. Save on fini,shes, paint and the work you can safely do yourself.
Get three itemised bids and a written scope. Then ask your local building department what it needs before work begins.
Do those things and your finishing basement project ends with rooms that stay dry, pas,s inspection and add real living space.
FAQs:
How much does it cost to finish a basement?
HomeAdvisor puts the typical range at $15,000 to $75,000, averaging about $32,000, with $7 to $23 per square foot. Sc,ope, plumbing and location move the number a lot.
How long does finishing a basement take?
HomeAdvisor lists about four to eight weeks for a typical project, including framing, rough-ins, dry,wall, flooring and paint. DIY projects take longer.
Do I need a permit to finish a basement?
Usually, when you add rooms or extend electrical, plumbing or HVAC. Cosmetic work is often exempt, but rules vary, so ask your local building department.
What ceiling height is required for a finished basement?
One city handout gives a minimum of 7 feet, and the model code allows 6 feet 8 inches in newer editions. Beams and ducts may project below it. Check your local rule.
Does a basement bedroom need an egress window?
Yes. Every sleeping room needs an emergency escape and rescue opening with a net clear area of at least 5.7 square feet, 24 inches of clear height, 20 ,inches of width and a sill no higher than 44 inches.
What is the best flooring for a finished basement?
Tile, glue-down vinyl, rigid core vinyl and engineered wood perform well. Carpet over an uninsulated slab and solid hardwood are the riskiest.
Should I insulate basement walls with fibreglass?
Federal guidance advises against fibreglass batts directly against foundation walls because they absorb moisture. Rigid foam or closed-cell spray foam is preferred.
Can I finish a basement myself?
You can do pa,inting, flooring and simple finishes. Ele,ctrical, plumbing and HVAC normally need licensed professionals and inspections.
What should I do before finishing a basement?
Fix water leaks, test the slab for moistu,re, test for radon and confirm the permit and code rules. These steps protect everything you build afterwards.